
Setting up your own audio visual system in your home can be a rewarding project that allows you to enjoy high-quality entertainment without the need for professional installation. With the right tools and knowledge, you can achieve a seamless setup that meets your needs and transforms your space into a media haven. This ultimate guide will provide you with tips and tricks to help you tackle your DIY audio visual installation with confidence.
The first step in any DIY audio visual installation is to plan out your setup. Take the time to assess your space and determine where you want to place your audio equipment, television, and any other components. Consider factors such as the layout of the room, the location of power outlets, and any potential obstacles that may affect your installation. By creating a detailed plan, you can ensure that your setup is efficient and functional.
When it comes to mounting your television, there are a few key things to keep in mind. Make sure to choose a sturdy and secure wall mount that is compatible with the size and weight of your TV. Measure the height at which you want to install the TV to ensure optimal viewing angles, and use a stud finder to locate the studs in your wall for a secure mount. Additionally, be sure to route any cables through the wall or use cable management systems to keep your setup looking clean and organized.
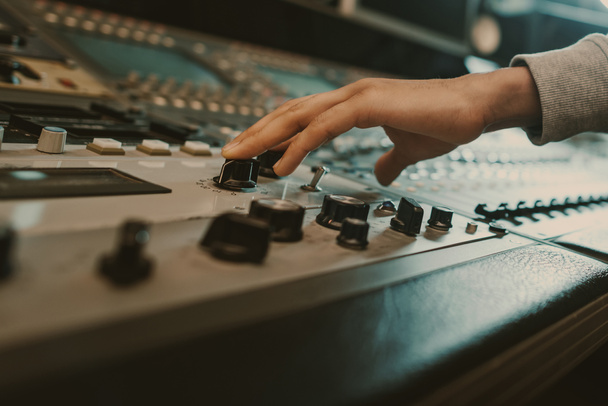
For setting up your audio system, consider the acoustics of your room and the placement of your speakers. Position your speakers at ear level for the best sound quality and experiment with different placements to find the optimal configuration for your space. Use speaker wire clips or cable management solutions to keep your cables organized and out of the way. If you are installing a surround sound system, be sure to properly calibrate your speakers to ensure a balanced and immersive audio experience.
One of the most important aspects of a DIY audio visual installation is ensuring that your equipment is properly connected. Take the time to read the manuals for each of your components and familiarize yourself with the various inputs and outputs. Use high-quality HDMI cables for connecting your devices to ensure a reliable and high-definition signal. Label your cables with tape or color-coded tags to make it easy to identify and troubleshoot any issues that may arise.
When it comes to setting up your media sources, such as streaming devices or gaming consoles, make sure to connect them to your audio visual system in a way that suits your needs. Consider using a universal remote control or a smart home hub to consolidate your control options and simplify your setup. Take advantage of streaming services and online resources to access a wide range of content and enhance your viewing experience.
As you complete your DIY audio visual installation, don't forget to fine-tune your setup for optimal performance. Use a sound meter or calibration tool to adjust the audio levels and settings of your system for a balanced sound. Make sure to update the firmware and software of your devices to ensure compatibility and access to the latest features. Consider investing in surge protectors or power conditioners to protect your equipment from electrical surges and ensure a stable power supply.
In conclusion, a DIY audio visual installation can be a fun and rewarding project that allows you to create a customized entertainment experience in your home. By following the tips and tricks outlined in this guide, you can tackle your installation with confidence and achieve a seamless setup that meets your needs. Remember to plan out your setup, mount your television securely, position your speakers for optimal sound quality, connect your equipment properly, and fine-tune your setup for the best performance. With a little time and effort, you can enjoy a high-quality audio visual experience in the comfort of your own home.