
Are you looking for ways to maximize your bathroom storage while adding a stylish touch? Floating shelves are the perfect solution. Not only do they provide much-needed storage for all your bathroom essentials, but they also look great.
Here’s how to maximize the right way of bathroom storage with floating shelves.
Measure and Mark the Wall
The first step is to measure and mark the wall where you’d like to install your floating shelves. Measure the desired width of the shelves and mark the wall accordingly. This will help you determine how many shelves you can fit in the space.
Choose the Right Shelves
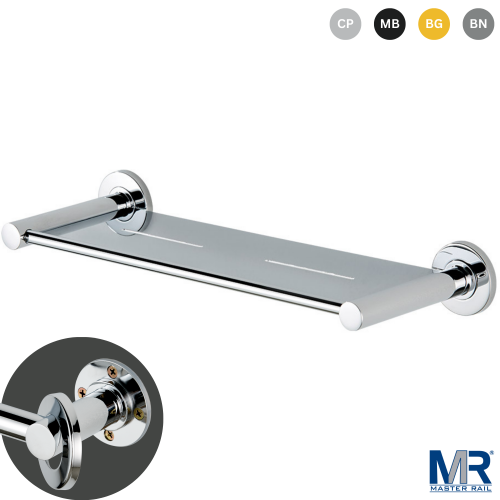
Once you’ve measured the wall, you’ll need to choose the right shelves. Floating shelves come in a variety of materials, sizes, and designs. You can choose shelves made of wood, metal, glass, or even plastic. Consider the size of your bathroom and the items you’d like to store when selecting shelves.
Install the Shelves
The next step is to install the shelves. You’ll need to make sure the shelves are level and securely attached to the wall. You can use wall anchors or brackets to hold the shelves in place. Make sure to follow the manufacturer’s instructions for installation.
Organize Your Items
Once the shelves are installed, it’s time to organize your items. Use baskets, bins, and other containers to organize and store items like towels, toiletries, and toilet paper. You can also add decorative items such as plants, candles, and pictures to the shelves.